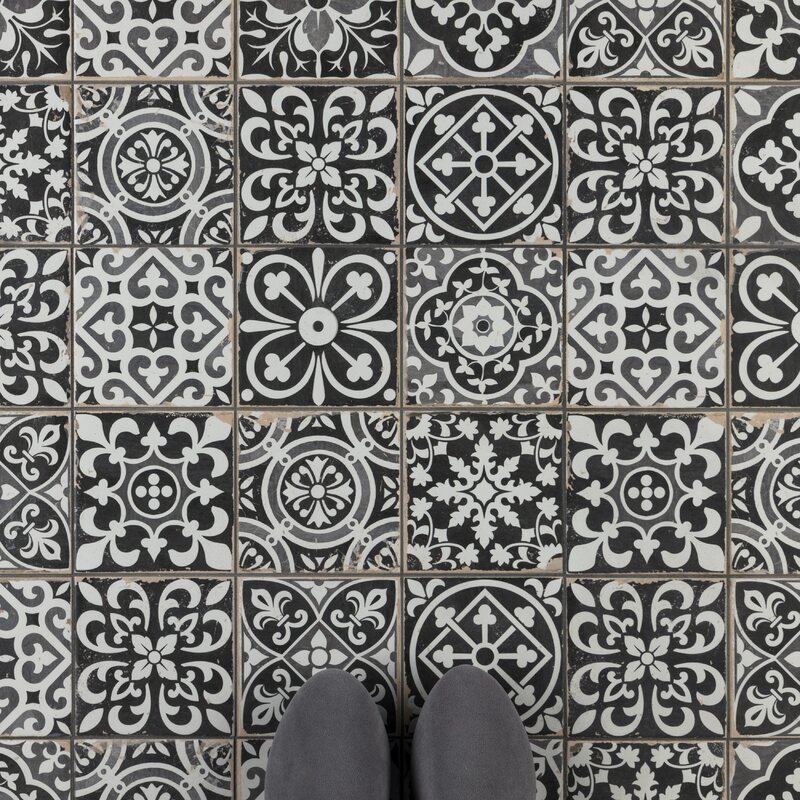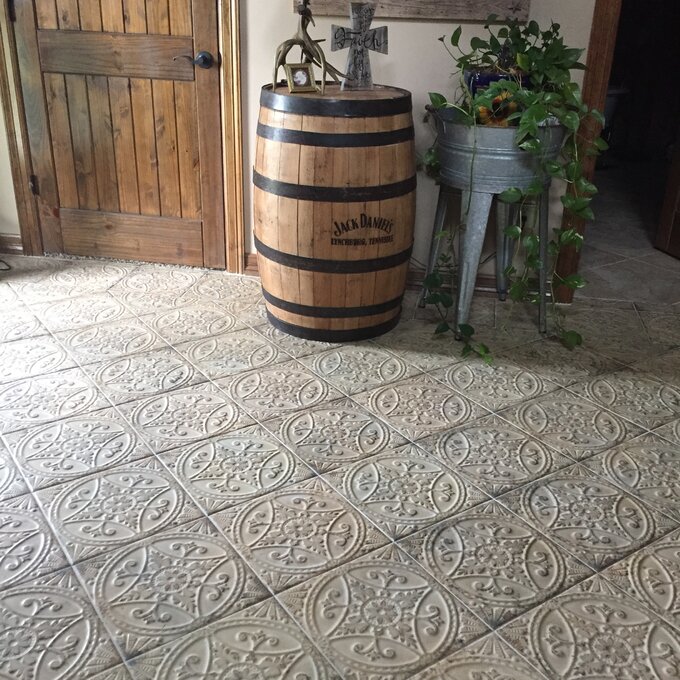
Tile patterns can dramatically enhance the look and feel of any space. They each offer something truly different. Yet many only work in certain places and for a specific purpose. So you’ll need to know the basics of each if you want to get outstanding results. This tile pattern guide is your shortcut to success. The following info will be sure to save you time, money, and frustration. We’ve included not just the basics but all the extra tips and secrets needed to help you choose the perfect layout for your space and make sure it looks its best.
The Straight Lay Tile Pattern
This is the most basic layout of them all. Of course, it also happens to be the easiest to install. These features make the straight lay the most commonly used and seen pattern around the world for both square and rectangular tiles. As you could probably guess, the tiles are set in a straight line. They are installed so that the corners of each tile are lined up with each other.
This creates a grid-like look that is simple, clean, and at the same time modern. The straight lay tiling pattern is the most versatile layout option. And it can be used in just about any room or space where you’d like to add tile both indoors and out. It is often used on the floor, wall, countertop, backsplash, and patio just to name a few. This is a quick and easy choice that’s always reliable.
Tips For Using The Straight Lay Tile Pattern
– If you’d like to do the job on your own and are a complete beginner this is the smartest layout to start with. It will help you to both build basic tiling skills and save money on installation.
– You don’t always need something complicated; simple can go a really long way. Most people are surprised at just how stylish the straight lay can be. In fact, with the right material, color, and size tile it can be absolutely stunning. Colored grout can also be used to add interest to your layout as well.
– While this is a basic pattern by using tiles that have decorative designs and motifs or bright and bold colors you can make it really stand out if you’d like.
– The straight lay is not usually the best floor tile pattern for extremely narrow rooms. The long grout lines parallel to the walls can actually make narrow spaces seem even smaller than they are which may not be what you want.
– This is one of the only tiling patterns that can be used successfully in rooms that already have more complicated layouts, designs, or colors but need a tiled surface. That’s because it won’t compete or clash with them. (Solid-colored tiles will usually work best for this).
– On the floor, you can use the fact that this is a straight tile pattern with long grout lines to your advantage. Since the eye naturally follows these lines you can install your layout so that it leads the eye of the viewer to where you want it to go. This could be through the room, to an adjoining area, a prominent feature, or an impressive outdoor view you’d like to highlight.
The Running Bond Tile Pattern
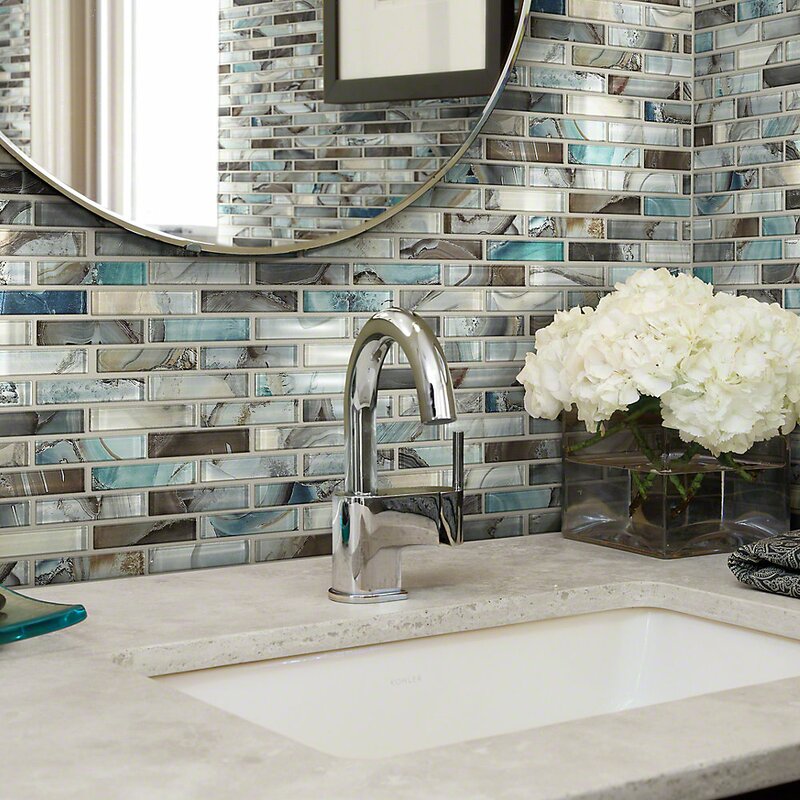
This layout goes by a few names. While most often it is known as the running bond, it is also called the brick or brickwork layout because it is the pattern that’s almost always used when installing bricks as well. The running bond pattern can be used with square tiles but if you want that signature brick wall look you’ll need to use rectangular ones. When installing them each tile will need to be set so that it starts at the center of the tile below it.
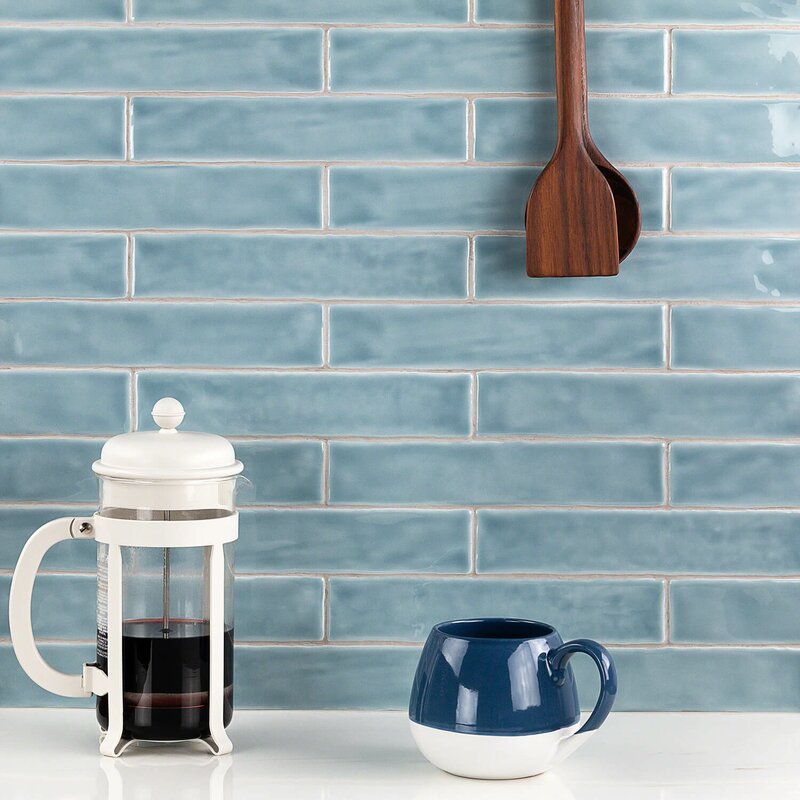
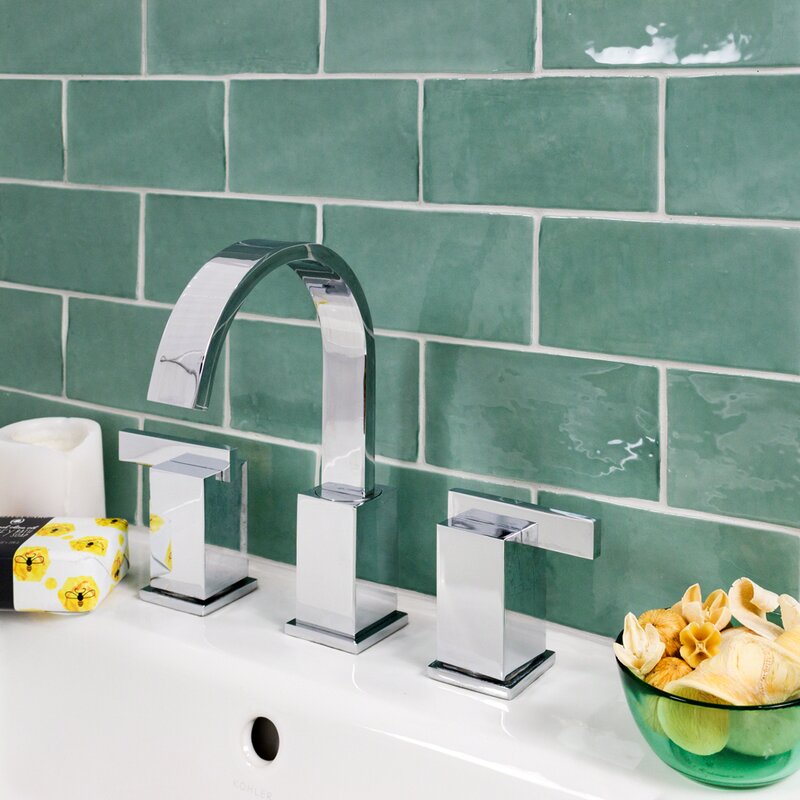
This is without a doubt one of the most popular backsplash tile patterns for both kitchens and bathrooms. And it is famous for how good-looking it can be when used with subway tiles. While it is usually installed on walls and backsplashes it’s quite versatile and can also be used on indoor floors and outdoor patios and walkways.
Tips For Using The Running Bond Tile Pattern
– Even though it’s considered to be one of the easier tile layout patterns to install you will want to make sure that the tiles line up as well as possible. If they don’t, it might only become apparent after you have already tiled much further down the line.
– The running bond tile pattern is a secret tool you can use to keep things like uneven surfaces, crooked walls, small differences in tile sizes, along with other imperfections, hidden from view.
– Since it is a staggered tile layout the edges of the tiles don’t line up in a straight line. And this tricks the eye by taking the focus off of individual tiles. Instead, the focus is on the pattern as a whole cohesive image which makes it almost impossible to spot flaws in the space where it is installed.
– When it’s used on the wall and with subway tile, the running bond is actually one of the top tile patterns for showers. This combination offers excellent protection for shower walls against water damage. Unlike with other choices the grout lines are usually pencil-thin leaving less space for water to get in and cause problems.
– When it comes to the floor don’t overlook this pattern for rectangular concrete, porcelain, or natural stone tiles that are larger in size.
The Diagonal Tile Pattern
Basically, this is another take on the straight lay but with the tiles laid at a forty-five-degree angle. It uses square-shaped tiles, and when these are tilted they automatically become diamonds. For this reason, you may also hear this layout referred to as the diamond tile pattern as well. When it comes to floor tile patterns for small spaces the diagonal can’t be beaten.
It is actually one of the easiest ways to make a small or narrow room appear bigger and wider than it really is. This works because when you are looking at the pattern your attention is focused on the widest part of the tiles. At the same time, the eye sees the grout lines spreading across the width of the room at wide angles.
This trick of perception makes you think you are looking at a space that is much larger. For floors in entryways, halls, and bathrooms (don’t forget the shower) which usually tend to be smaller and narrower spaces, this layout can work wonders. You may also want to consider using the diagonal on the wall or backsplash. It can be a fantastic option if you’d like something that’s basic but at the same time also a little different.
Tips For Using The Diagonal Tile Pattern
– You can definitely use the diagonal in the same space as other tile-laying patterns without having to worry that it will look too busy. It can even be installed directly adjacent to them on the same wall or floor. Because of this, it makes a very functional pattern for tile borders too.
– When using the diagonal pattern choosing a single color for all of your tiles or using alternating black and white tiles will almost always work best.
– Since it draws the focus of the eye so well, the diagonal is used as a floor tile pattern in oddly shaped rooms to take attention off of their irregular features, which it can do very effectively.
– Larger tiles tend to make a small room appear bigger too, so needless to say using together them with the diagonal tile pattern can be an enormous help for tiny spaces.
The Checkerboard Tile Pattern
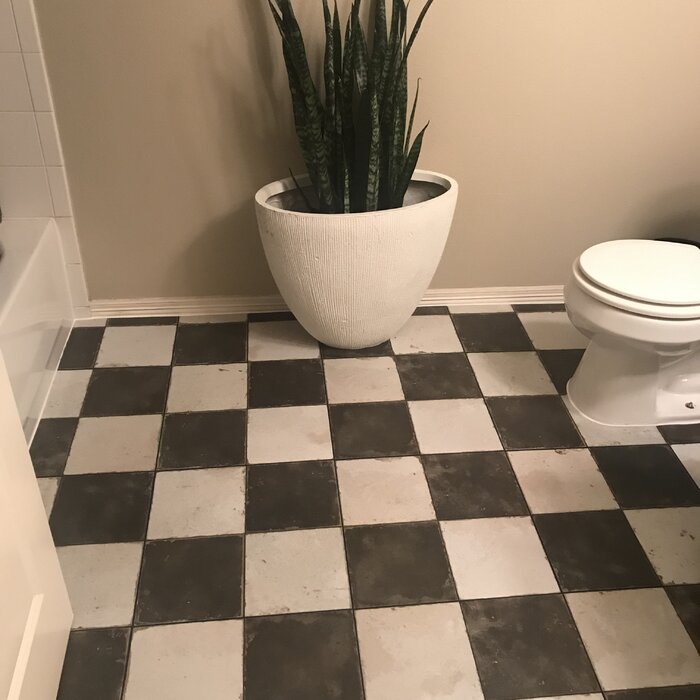
Like many tile pattern names, this one lets you know instantly what the layout looks like: a checker or chessboard. It uses square black and white alternating tiles to create a truly classic look. The contrast between the two opposite colors makes for striking results. Sometimes the black is substituted for another color such as tan, gray, or red. The checkerboard is actually a color pattern and is always installed using the straight lay or diamond layout.
Because it is the most well-known of all classic floor tile patterns it is typically used for adding vintage style to floors in living rooms, entryways, mudrooms, and hallways. In kitchens and bathrooms, you may want to use it on the floor, wall, or both. Although it is usually used for a retro look, this pattern can be quite sharp when used in contemporary style spaces too.
Tips For Using The Checkerboard Tile Pattern
– The checkerboard is an elegant and stylish pattern, but it must be used with solid colors and simple décor to work to its full potential. Complex colors or patterns used in the same space will almost always clash and take away from its classy appearance.
– Different tile patterns may tend to look better when used with specific materials. This is definitely the case with the checkerboard. It is most famous for its extremely upscale and classic appearance when installed on the floor using large marble tiles with a polished finish.
– When used on the floor you can bring the entire room together dramatically by using white walls or white wall tile. Alternatively, you could also use black walls or wall tile. You can continue the black and white theme to echo your pattern by using sinks, counters, cabinets, tile borders, doors, fireplace tiles, and other décor in these two colors.
– Nowadays, you can find many different options which already have the checkerboard layout on each individual tile making installation even easier. Vinyl floor tiles and mosaic tiles are two examples.
The Herringbone Tile Pattern
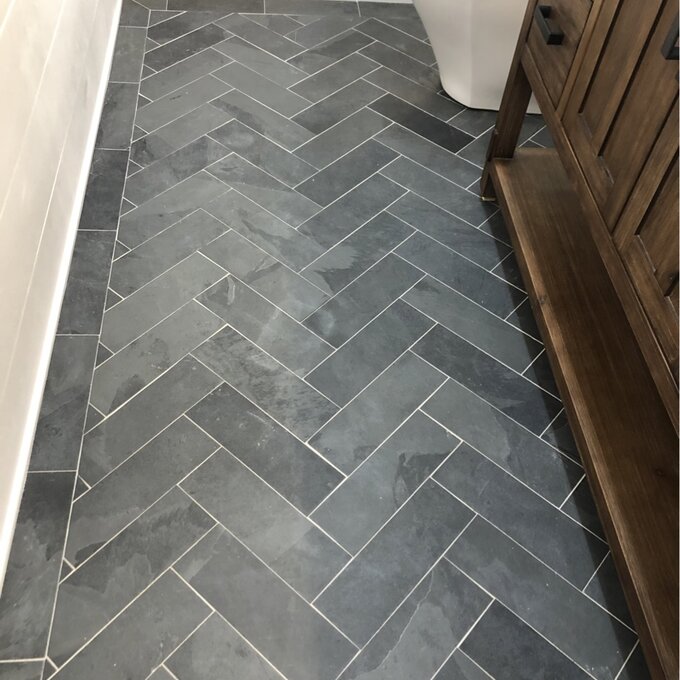
Named for its resemblance to the skeleton of the herring, a bony fish, this timeless option uses rectangular tiles. The herringbone tile layout has actually been used heavily in Europe for hundreds of years for its elegant and intricate look. It is also a favorite for use with wood flooring. The tiles are set in a “V” shape which really does look similar to the rib bones branching off of the spine of a fish.
This is accomplished by first adding a tile at a forty-five-degree angle to form one side of the “V”. A second tile is added so that it is perpendicular to the end of the first which forms the other side of the “V”. This is repeated, however, because it can quickly get complicated and involve a lot of cutting it is usually a pattern best left for a professional to install.
The herringbone tile layout is another pattern that can be used to make small rooms appear bigger than they really are since the eye tends to focus on the wide “V” shape instead of the narrowness of the room. Therefore it’s an outstanding choice for floors in narrow halls, entryways, bathrooms, and kitchens. While this layout in the past was traditionally used on the floor it has become one of the most used wall tile patterns for adding visual interest to walls and backsplashes. You may also want to consider using it outdoors on walkways and patios.
Tips For Using The Herringbone Tile Pattern
– Herringbone mosaic tiles make enjoying this pattern as easy as possible. Each tile is made up of many small rectangular pieces that are already perfectly aligned and spaced. They are attached to a mesh backing that makes installation simple. These will give you the herringbone on a smaller scale and are extremely popular for backsplashes and floors.
– In halls and entryways the herringbone can be used to draw the eye of the viewer into the next room. The “V” shape looks like the point of an arrow and you can put it to use by installing it so that it points your guests in the right direction.
– Although it works wonders in small and narrow spaces the herringbone is one of the tile layout designs that will look too busy when it is installed in larger areas.
– On the backsplash, many people like to use the herringbone as a focal point. You can do this by adding it in one specific area of your backsplash such as over your cooktop while tiling the rest of your space with another layout like the running bond. Many people like to frame it for extra emphasis as well. This idea is also popular on shower walls.
The Basket Weave Tile Pattern
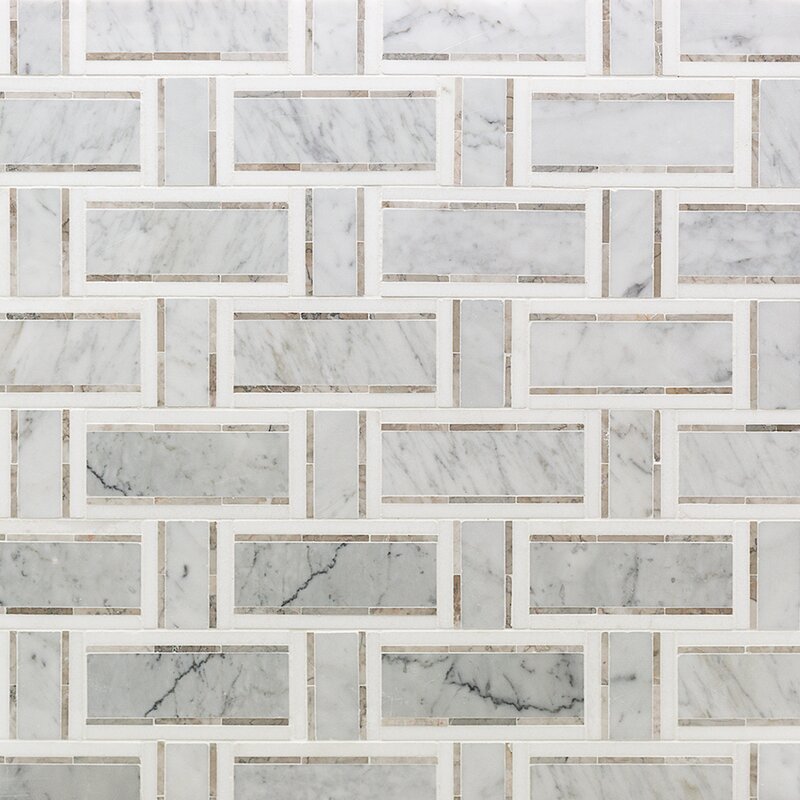
This unique pattern looks similar to the stitching of a woven basket. And while it may appear complicated at first glance, the one-of-a-kind look is not hard to create using rectangular tiles. This convincing illusion is actually based on a basic layout. Normally this is started by placing two rectangular tiles together either vertically or horizontally to form a square. Next, two more tiles are placed so that they are perpendicular to them and this is repeated down the line.
By always alternating between the horizontal and vertical positions it creates the impression that the tiles are being woven over and under each other. The basketweave is often used to create a classic chic feel that is right out of the early nineteen hundreds. This can be on walls, backsplashes, and floors. It’s also a favorite for bathrooms and foyers in particular.
Tips For Using The Basket Weave Tile Pattern
– Like many other rectangular tile patterns and more complex layouts too, the basketweave is commonly available in mosaic tile form. However, it is one option that really stands out since mosaics often will have inserted black dots for extra shading and look very realistic.
– If you are considering this pattern you will without a doubt want to check out how spectacular it looks when used with natural stone materials like marble and onyx. Using stone tiles can also help to add to its vintage appearance.
– Similar to the herringbone, this pattern can be a little too much for larger rooms but shines in smaller ones.
The Windmill Tile Pattern
Another stylish choice resembles the blades of a windmill and it’s appropriately named the windmill pattern. With its classic feel, it could be just what you are looking for if you are planning a vintage style upgrade.
This layout is made up of back-to-back square shapes. Each square is actually comprised of four rectangular tiles. A small square tile is placed in the center of each of them to complete the windmill look. This pattern has a very grid-like appearance that is naturally appealing to many people.
Any floor, backsplash, or wall where you’d like to add a retro look would be an ideal spot for this layout. It also can be a treat for the eyes when used as a border. And like with other classic-looking bathroom tile patterns such as the basketweave, it is popular not just on the walls and floors of bathroom spaces but in the actual shower too.
Tips For Using The Windmill Tile Pattern
– Using a different color for the square tile in the center can really make the pattern pop. You may want to use contrasting colors or something bright and vibrant to call some attention to the layout.
– For this pattern to look proportionate it must use rectangular tiles that have a length to width ratio of two to one. The square tiles will also need to have the same width as the rectangular tiles you choose. This will make sure that the squares end up being half of their length.
– Ceramic and porcelain options can look amazing but don’t be afraid to think outside the box, there are many stone choices as well.
The Versailles Tile Pattern
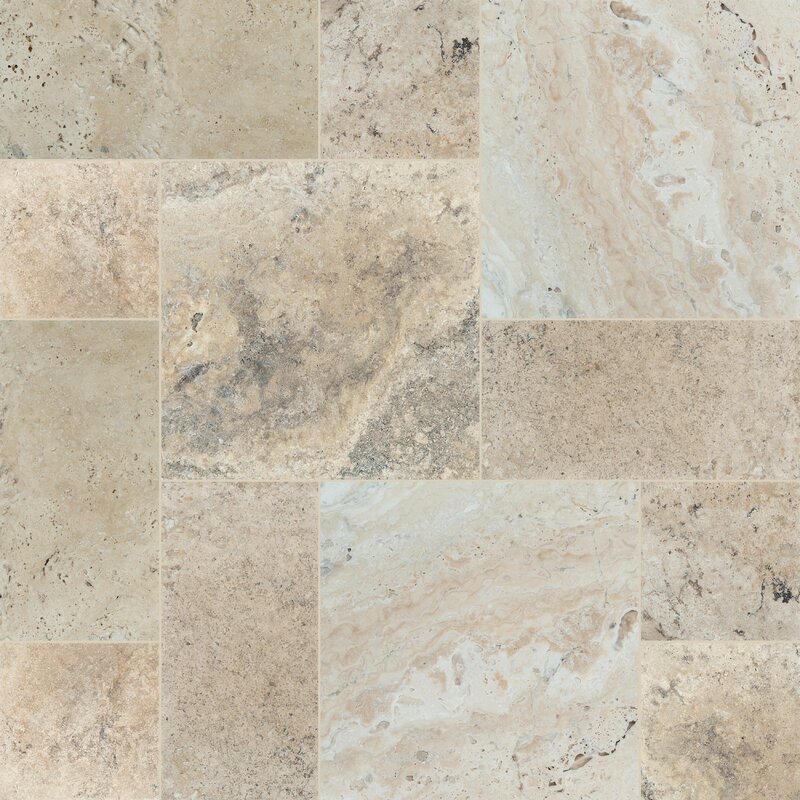
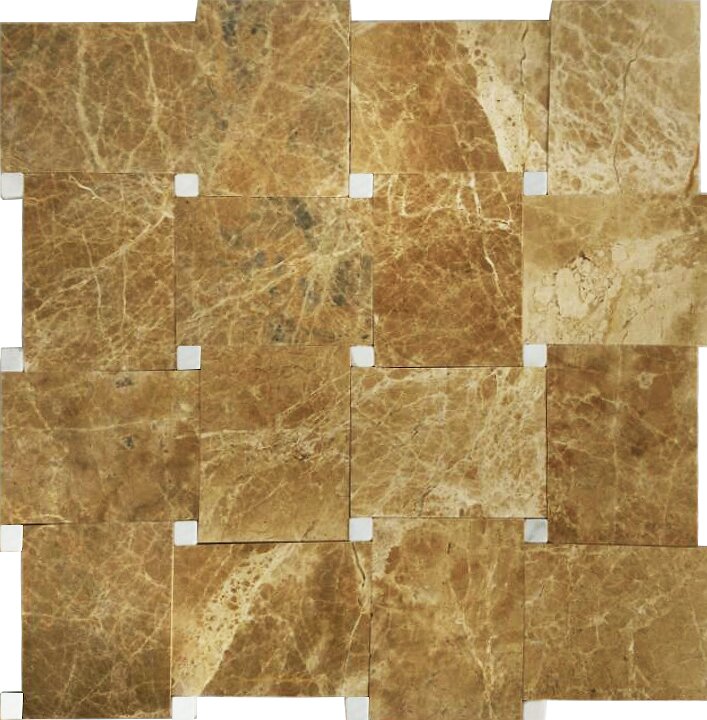
Sometimes also called the French or modular pattern, this is a very special layout. It is actually designed to fool you into thinking it is set at random. Of course in reality no installation could look this phenomenal by chance. It is perfectly designed to give you the appearance of randomness but without the chaos.
The Versailles uses both square and rectangular tiles that fit together in a large repeating puzzle-like layout which is perfectly balanced and pleasing to the eye. It actually uses four different tile sizes: 8”x 8”, 8″ x 16”, 16″ x 16”, and 16″ x 24”.
Because this is a complex pattern it should be installed by a professional. If you do decide to install it on your own make sure you start with a dry layout and begin tiling from the center of your space and work your way out. It is very important that you lay down the first few tiles extremely carefully because they will determine the placement of all of the other tiles.
You can’t mention the Versailles without talking about travertine. This natural stone has a pitted surface and a gorgeous rustic look that is famous for how well it goes together with this layout. When installed with travertine tiles you can always expect stunning results.
Even though it is sometimes used on the wall, the Versailles is almost exclusively a floor tile pattern. For both inside the home as well as outdoors wherever you’d like an elegant and timeless look it can deliver. This is one of the best floor tile layout patterns for even the largest of rooms and outdoor spaces such as patios.
Tips For Using The Versailles Tile Pattern
– One of the best ways to purchase tiles for this pattern is in kits or bundles. These will have the correct number and ratio of tiles to cover different size areas. And while you may end up with a few extra tiles, you’re always better off with some to spare in case of breakage or future damage anyway.
– Even though it is most famous for how it looks when paired with travertine, installations using other natural stone tiles such as those made from marble or slate can make for a striking display.
– If you would like to use the Versailles as a backsplash or wall tile pattern you may want to think about using mosaic tile to do so. This will give you the layout in a miniature size that is ready to install. And of course, it can be used on the floor too.
The Pinwheel Tile Pattern
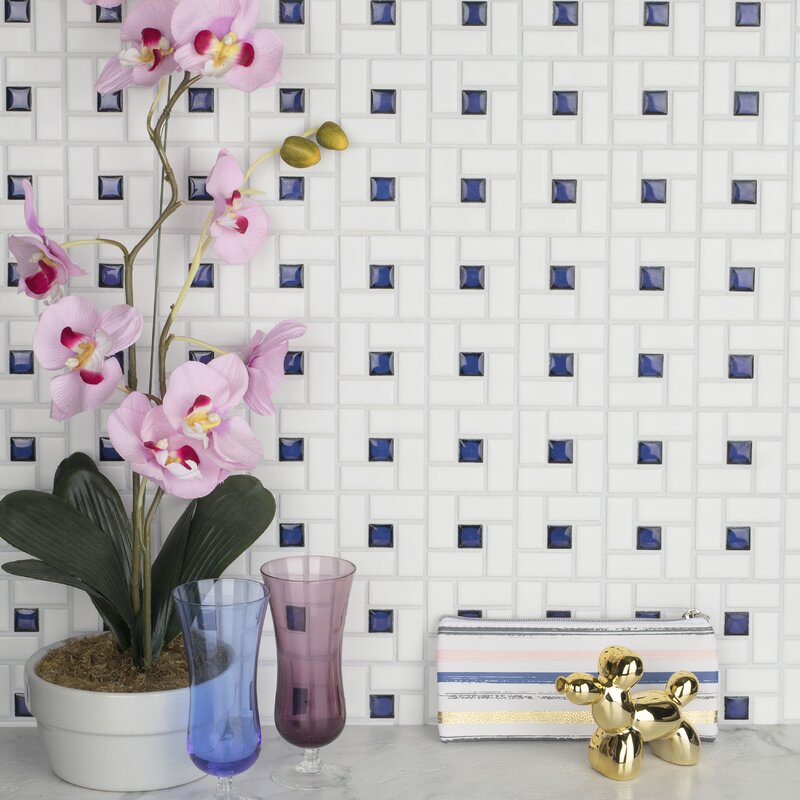
Just because the pinwheel pattern isn’t as common as many others layouts doesn’t mean it’s not as impressive, in fact, quite the opposite. It’s also known as the hopscotch tile pattern and it’s a splendid-looking choice that’s worth checking out. The pinwheel is actually often confused for the windmill layout however it does have a distinct look that is all its own. Unlike the windmill pattern, this is a square tile pattern.
It uses small square tiles placed at each of the four corners of a larger square tile to portray a look that is similar to a pinwheel spinning in the wind. While it is not overly complicated, it still needs to be planned out carefully so you will need some tile laying skills if you are going to get this one right.
The pinwheel is just about always used on the floor. Because it is one of the tile floor patterns that isn’t seen every day and also is so pleasing to the eye it’s a choice that will be sure to get a lot of compliments.
Tips For Using The Pinwheel Tile Pattern
– While the pinwheel can be installed with any two sizes of square tiles, by making sure the larger tile is exactly twice the size of the smaller ones it will look much more balanced. The two most popular sizes by far are 12”x 12” and 6”x 6”.
– When choosing colors for this pattern using a single color for all of your tiles often looks best. If you’d really like to make it pop though, try two different colors, one for the large tiles and another for the smaller tiles. Anything more than two colors and you run the risk of it being too busy for your space.
– For creating an exceptional-looking backsplash and bringing this pattern to the wall don’t forget mosaic tiles.
Each of these patterns can give you unbelievable results when used correctly and with the right tiles. Let your creativity, style, and imagination run wild while keeping these tips in mind and you will be well on your way to transforming your space and achieving your goals!
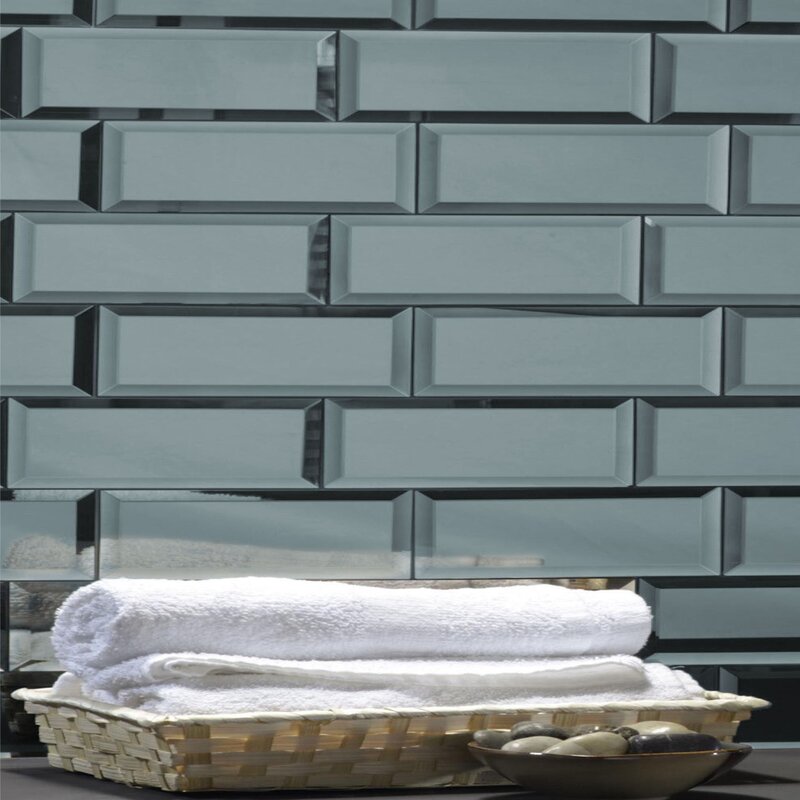
Mirror Tiles: Create Light And Space In Your Home
Buy on Wayfair Mirrors nowadays are about much more than admiring yourself. If you wish to give your home a fresh and distinctive look, mirror tiles are a perfect choice for your next home remodeling project. Their creative use can add charm and style to any room or...
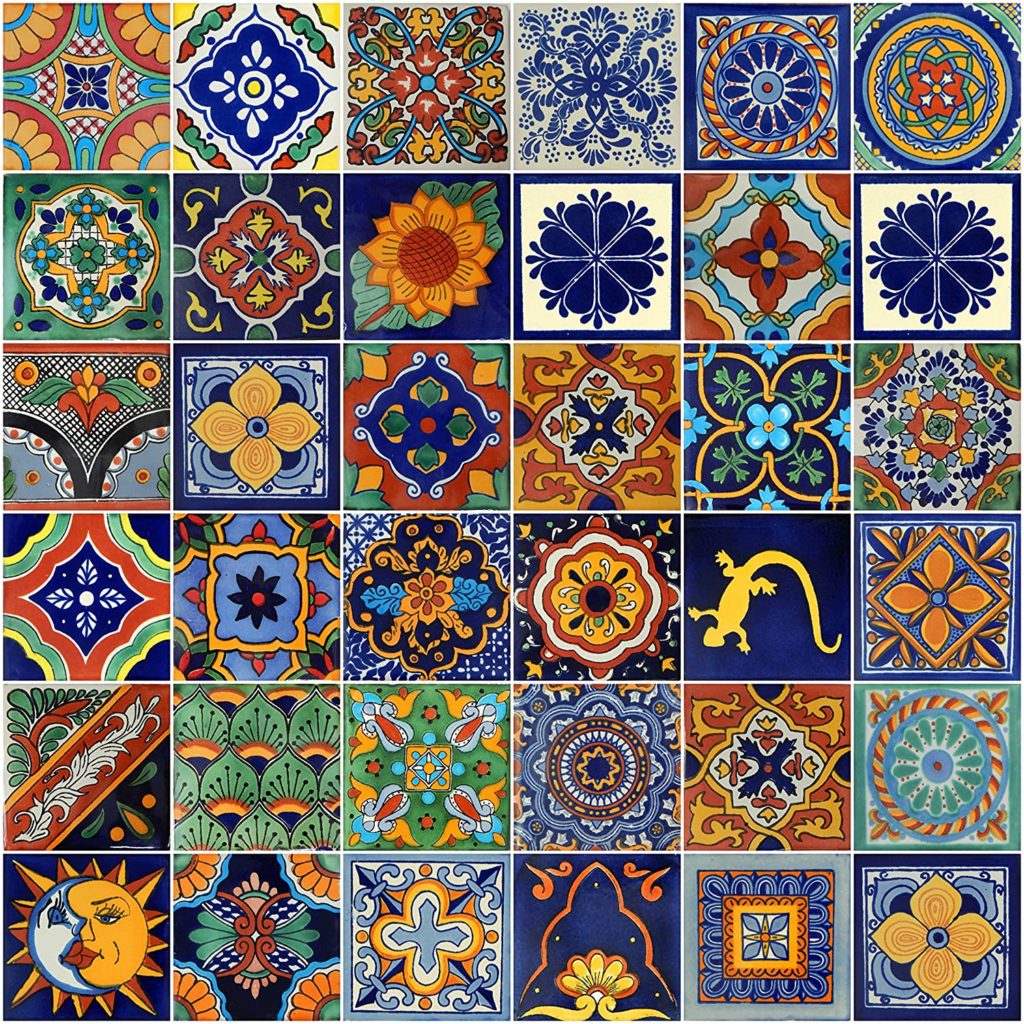
2 Exciting,Unique,Yet Inexpensive Mexican Tile Backsplash Ideas!
Buy on Amazon A simple tile backsplash can change the way an entire room is viewed. It can not only serve to bring out and accentuate the existing colors in a room but it can be used as the focal point of the entire room as well, drawing and focusing the attention of...
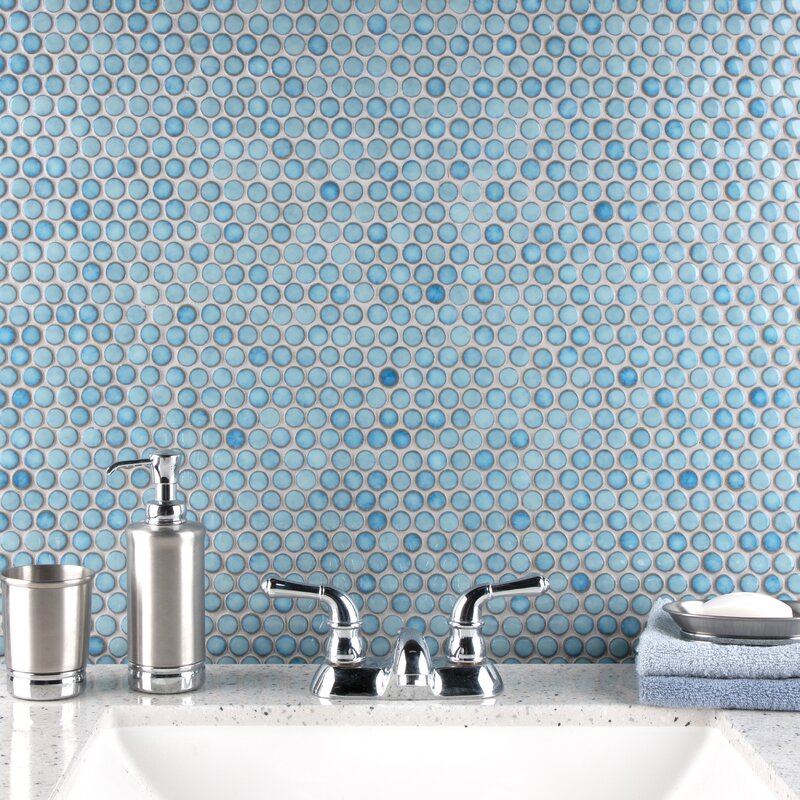
Penny Tile 101: Everything You Need To Know About This Little Known Favorite!
Buy on Wayfair Penny tiles, as their name suggests, are round and penny-sized. Also known as penny rounds, these tiles have been available for decades, but their use has been so limited that many people are now encountering them for the first time. Today, the style is...
Backsplash Tiles: A 5 Minute Crash Course
Buy on Wayfair Choosing the correct backsplash tiles can help accentuate the design of your kitchen or bathroom, create an interesting focal point, add color, or even bring the room together. While their original function was to protect the vulnerable walls behind...
Rubber Tiles Made Easy!
Buy on Amazon While rubber tiles are not known for their beauty or stunning appearance, that’s not what they’re built for. Instead, these tiles are all about function. So here is your complete guide to this helpful flooring option. Safety The reason most people...
